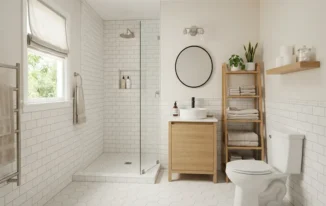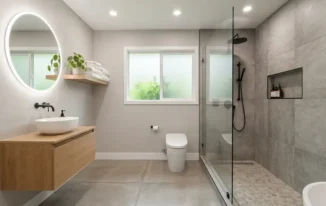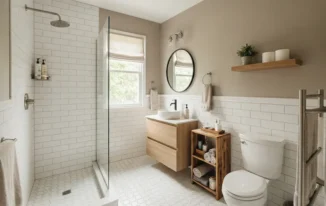

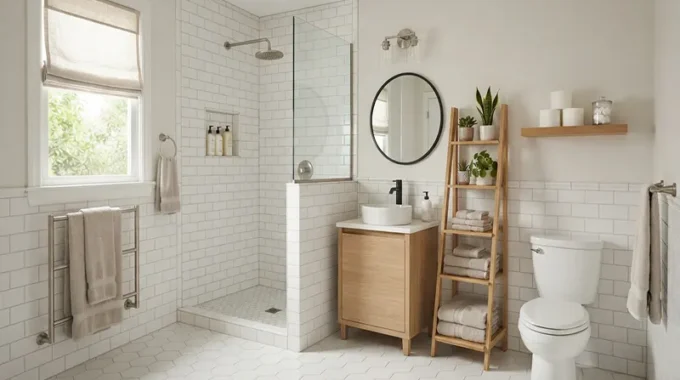
Tackling your first home bathroom remodel can feel like stepping onto a construction site blindfolded. Between plumbing lines, electrical codes, tile layouts, and ballooning budgets, it is easy for beginners to feel overwhelmed. However, a successful renovation does not require a contractor’s license; it requires a structured, phase-by-phase roadmap.
By breaking the project down into manageable steps and knowing when to roll up your sleeves versus when to call a professional, you can transform your bathroom without losing your sanity (or your savings). Here is your definitive, beginner-friendly checklist.
Phase 1: Budgeting, Planning, and Inspiration
Before you swing a sledgehammer or buy a single tile, you need a clear financial and stylistic roadmap.
- Define Your Scope: Determine whether you are doing a cosmetic refresh (paint, hardware, lighting, vanity swap) or a full gut-reno (moving plumbing, tearing out subfloors, replacing the shower enclosure).
- Establish a Realistic Budget: Get firm quotes for materials and labor. Crucially, add a 20% contingency fund to your total budget. In older homes, opening up walls almost always reveals hidden water damage or outdated plumbing that requires immediate attention.
- Gather Inspiration and Order Early: Create a mood board for your fixtures, color palette, and tile choices. Order heavy items (like vanities, custom tiles, and toilets) weeks in advance to avoid devastating project delays caused by shipping lead times.
Phase 2: Assembling Your Team and Permits
Knowing your limits is the hallmark of a smart renovator. Trying to DIY complex plumbing to save a few dollars can result in thousands of dollars in water damage.
- Draw the Line Between DIY and Pro:
- Safe for Beginners: Painting, installing peel-and-stick or click-lock flooring, swapping cabinet hardware, hanging mirrors, and installing floating shelves.
- Call a Licensed Professional: Relocating main plumbing lines, altering electrical circuits, installing shower pan waterproofing liners, and gas-line adjustments.
- Check Local Permits: Contact your local municipal building department. Major structural changes, electrical work, and plumbing overhauls often require permits to ensure your home remains up to code and insurable.
Phase 3: Demolition and Prep Work
Once planning and permits are sorted, it is time to clear the space and strip the room down to its bones.
- Safety First: Shut off the main water supply to the house and drain the pipes before removing sinks or toilets. Turn off the electricity to the bathroom at the breaker box before touching any light fixtures or outlets.
- Contain the Dust: Seal off the bathroom doorway with heavy-duty plastic zipper sheeting to prevent construction dust and mold spores from migrating into your bedroom or living areas.
- Tear Out Carefully: Remove the vanity, mirror, toilet, and flooring methodically. Wear protective gear (mask, goggles, heavy gloves), and inspect the exposed wall studs and subfloor for any signs of mold, rot, or past leaks.
Phase 4: Rough-In Work and Infrastructure
This is the hidden backbone of your remodel. Getting the infrastructure right ensures your new finishes last for decades.
- Plumbing & Electrical Updates: Have your plumber adjust supply lines or drain locations to fit your new vanity or shower layout. Run new electrical wiring for modern vanity sconces, heated floor mats, or a high-capacity ventilation exhaust fan.
- Address Subfloor and Moisture Barriers: Repair any soft or water-damaged subflooring. Install cement backer board in wet areas (like shower surrounds and tub floors) and apply a liquid waterproof membrane to create an impenetrable moisture barrier.
- Inspection Checkpoint: If your municipality requires rough-in inspections for plumbing or electrical work, schedule them before closing up the walls with drywall.
Phase 5: Finishes, Fixtures, and Styling
This is the most satisfying phase where your vision finally comes to life. Work from the top down and the back of the room forward.
- Walls and Ceilings: Hang moisture-resistant greenboard drywall, tape and mud the joints, and apply a high-durability satin or semi-gloss paint designed to withstand high humidity.
- Flooring and Tile: Install your tiles or waterproof luxury vinyl planks. Allow proper curing time for thinset mortar and grout before walking on new floors.
- Install Fixtures & Hardware: Mount your vanity, drop in the sink, hook up the faucet, install the toilet, and secure your shower trim. Finally, screw in matching cabinet pulls, towel hooks, and toilet paper holders.
- The Final Styling Layer: Hang your statement mirror, install your lighting sconces, and add finishing touches like plush organic cotton towels, a bathmat, and a humidity-loving plant.
The Beginner’s Golden Rules
Remodeling a bathroom as a beginner is a challenging test of patience, but crossing the finish line to a space you helped create is immensely rewarding.
3 Golden Rules for First-Time Renovators:
- Never Skip the Contingency Fund: Always set aside 20% of your budget for unexpected surprises behind the walls.
- Respect the Waterproofing: Never cut corners on waterproofing shower walls and floors; moisture is a hidden home destroyer.
- Know When to Stop and Call a Pro: If an electrical or plumbing issue looks outside your skill level, hiring an expert for a few hours is cheaper than repairing a catastrophic DIY mistake.